Skip to content

Posts from the ‘Desserts’ Category

The Greengage Summer

We live in an area of Switzerland, in the south-west, which is known for being one of sunniest cantons in the country. Although July was rather on the wet side, August is looking a lot more clement already, the sun is blazing outside and the mountains look beautiful in the bright light. This kind of climate is a paradise for growing soft fruit. We are right in the middle of apricot season and when you drive down into the valley, there are stalls selling apricots and any related products every two kilometres along the road. There is something incredibly nice about knowing that your fruit’s provenance is a stone’s throw away.

Other than apricots, there are greengages, called Reine Claude in French. Small, gorgeous, green and amazingly juicy. They are in season for such a short time, it would be a crime not to grab a punnet and enjoy them.

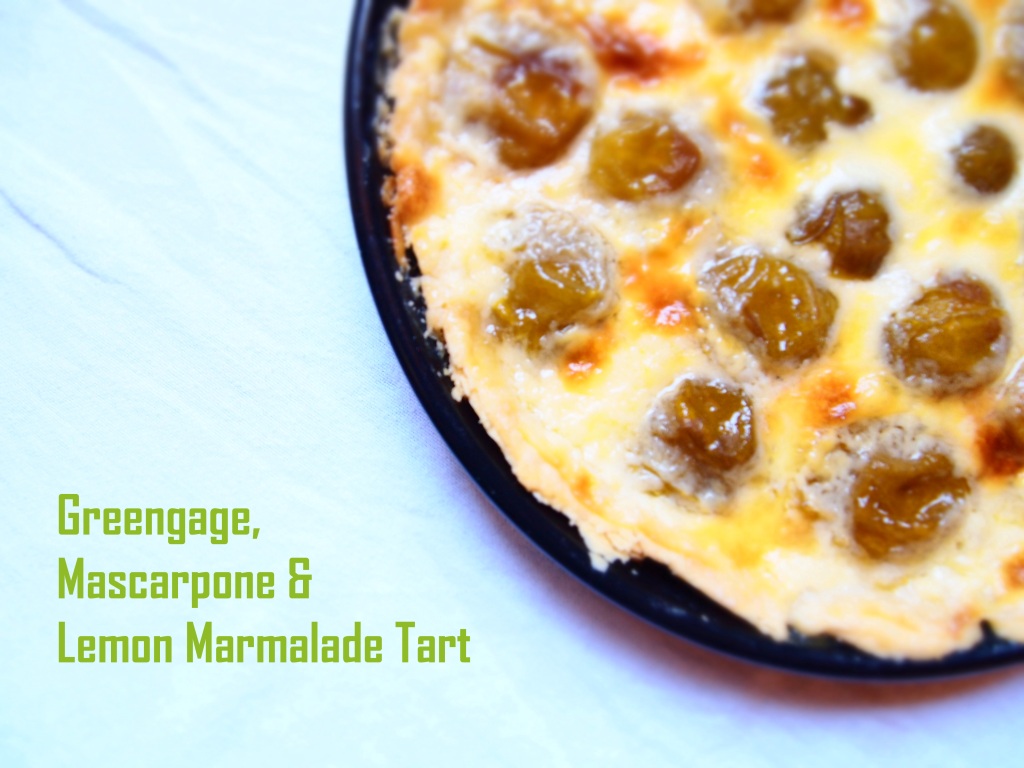
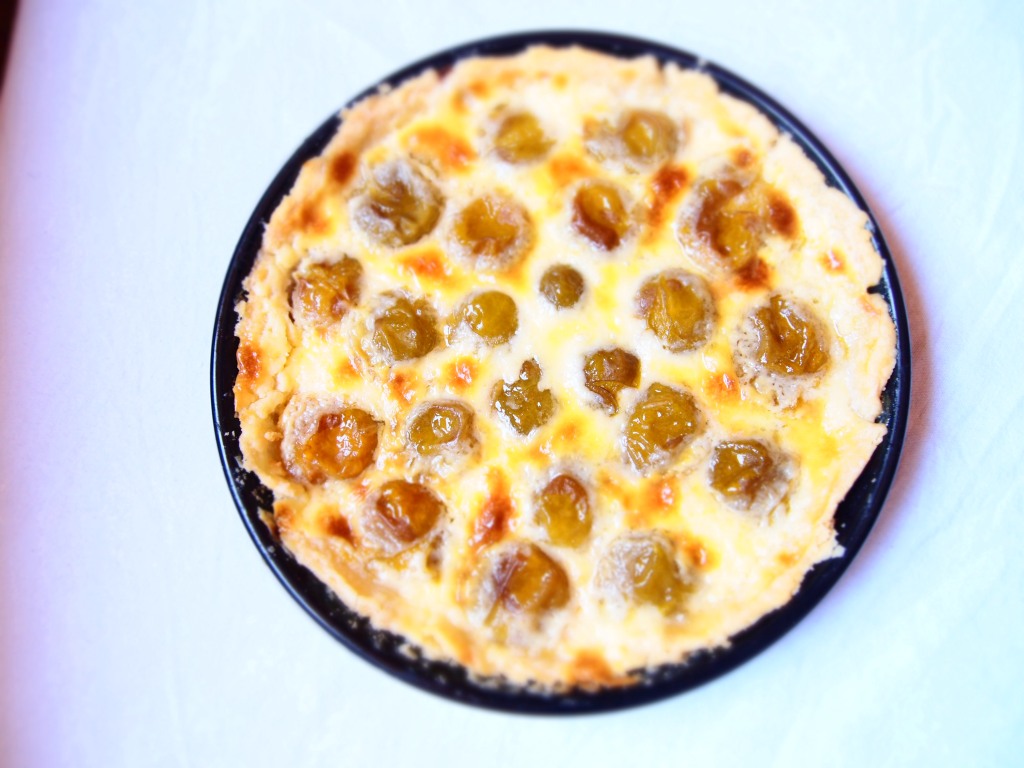
We had some left over and I couldn’t quite muster the strength to eat all fifteen of them in one go before they went off… imagine the stomach ache! So instead I came up with this recipe, a tart, with a shortcrust base, some indulgent mascarpone, lemon marmalade and of course, the succulent greengages.

Greengage, Mascarpone & Lemon Marmalade Tart

Ingredients

For the shortcrust pastry
125g plain flour
Pinch of salt
55g butter, cut into cubes,
2-3 tbsp of water

For the filling
Approx. 15 greengages, cut in half, stones removed
250g tub of mascarpone
2 tbsp of icing sugar
Lemon marmalade

Put flour and salt in large bowl and then add the butter. Using your fingers, rub the flour and butter together until you have a consistency similar to coarse breadcrumbs. Try and do this swiftly or else it will go greasy, I usually run my hands under the cold tap and then pat dry before starting so the butter doesn’t melt too fast.

Add a tbsp of water, the consistency will change immediately once you mix it in, add another tbsp and repeat. Add a third if needed. Now wrap dough in clingfilm and leave to rest in the fridge for 15 minutes.

Whilst the dough is resting, grease a 24cm tart tin.

After you’ve prepared the greengages, mix 2 tbsp of icing sugar into the mascarpone.

At this point, your dough will be ready, remove from clingfilm and roll out with a rolling pin onto a surface lightly covered with flour. Carefully place it in the tart tin and shape to fit. Chill in the fridge for 15 minutes.

Turn the oven on to 190 degrees.

When the 15 minutes are up, blind bake the case. Prick the pastry with a fork and then cover with greaseproof paper that fits the base. Place dried beans (I use chickpeas), dry rice, dry lentils or pie weights over the surface of the covering. Put in the oven and bake for 10 minutes.

Remove from the oven and let it cool for about 5 minutes. Then add the mascarpone, spreading it evenly. Place the greengages, cut side down, and then put a little marmalade on each of the halves of fruit.

Bake for 30 minutes on a shelf near the bottom of the oven. Once done, don’t take the tart out immediately as the filling will still be runny. I turn the oven off, open the door and pull the shelf out slightly. After a few minutes, you should be able to place it on the kitchen counter without any spills!

Let the tart cool & set completely before serving. Enjoy!

Ma petite noix de coco

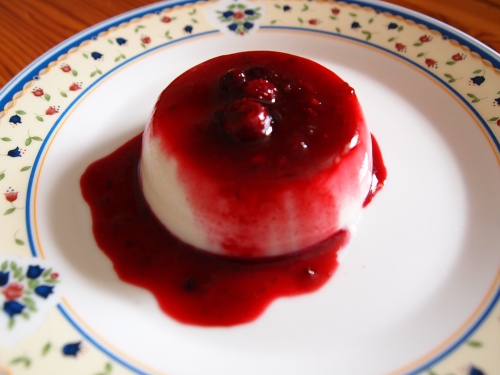
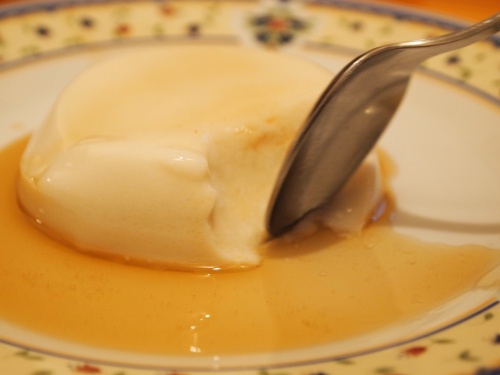
Panna cotta. It is light, yet unctuous, it is refreshing yet indulgent. It’s a dessert of contrasts for me and that’s what I love about it. It’s my ‘go to’ dessert when I eat out, yet I’d never made it at home. One of the reasons for this is that John does not eat meat-based products so the use of gelatine was not possible. I finally found a recipe in Heidi Swanson’s Super Natural Cooking cookbook which called for agar agar, a seaweed vegetarian gelatine substitute. This coconut panna cotta recipe comes with a summer berry coulis. But today is your lucky day and you get a ginger syrup coulis recipe thrown in as well! It makes for two very different desserts: the sweetness of the coconut against the tartness of the fruit works fabulously well and the fiery ginger compliments the coconut perfectly.

Coconut Panna Cotta
Adapted from Super Natural Cooking by Heidi Swanson

Ingredients
1 can coconut milk
300ml milk
60g light cane sugar
8g agar agar

Method
Lightly oil 6 ramekins, set aside.
Put coconut milk, milk, sugar and agar powder in a pan. Then let it rest for 5 minutes to let the agar agar dissolve. Slowly bring the ingredients to a simmer for about 5-6 minutes, until the powder is incorporated (I used a wooden spoon which I pressed against the side of the pan for any lumps of agar agar). When the time is up, pour into the ramekins, set aside to cool down then chill in the fridge until set, about 2 hours.

Summer Berry Coulis
Adapted from Super Natural Cooking by Heidi Swanson

Ingredients
2 cups frozen summer berries (you can use fresh raspberries & blackberries if you wish)
40g light cane sugar
Juice of ½ lemon

Put berries, sugar and lemon juice in a pan and bring to a simmer. Remove from heat. Mash the berries a little, let it cool and then chill.

Fiery Ginger Syrup

50g ginger, skin still on in 2mm slices
160g cane sugar
500ml water

Combine ginger, sugar and water in a saucepan. Bring to a boil over moderate heat. Lower the heat and simmer 20-25 minutes. Remove from heat and cool to room temperature. Strain, and keep refrigerated for up to two weeks.

BONUS: You can also serve this syrup as a drink – add about two tablespoons to a glass and add sparkling water, ice and a slice of lime. Stir gently. Enjoy.

Tutti Frutti

As children, my brother and I spent hours playing outside. We lived in a house which had a small field attached to it. This field was the playground of many epic adventures; hiding in the high grass, plotting schemes only logical to us, having picnics and sitting high above ground eating the fruit straight from the tree. The array of fruit available was vast: Damson, Green Gage & Mirabelle plums, cherries, apples, apricots, pears, blackberries, gooseberries, raspberries…

As a result of this harvest, I remember my mother making jam all summer long, the kitchen filled with that rich fruity and sugary smell. In our nuclear bunker (we were in Switzerland, most houses had them!), there was row upon row of jars. Had a war broken out, we certainly would have survived. My father, who likes unfussy cooking, was keen on fruit tarts. Roll out pastry. Arrange fruit, any kind of fruit. Bake.

And my way… It is apricot season at the moment in Switzerland so I seized my chance when I was over at the weekend and made this delicious fruit dessert. I have adapted it as the original recipe contained far too much sugar for my liking. It is delectable served warm with vanilla ice-cream as a dessert or chilled with some yogurt for breakfast :

Roasted Fruit with Vanilla
Adapted from a BBC Good Food recipe

Ingredients
100g golden caster sugar
1 vanilla pod split in two and scraped of its content
½ tsp of ground cardamom
Zest and juice of 1 lime
6 apricots, stone removed and halved
3 white peaches (you can use regular peaches too), stone removed and quartered
3 white nectarines (same as above), stone removed and quartered

Method
Heat oven to 220C/fan 200C/gas 8. Put the sugar, vanilla pod scrapings, cardamom, lime zest and juice into a bowl and mix together. Tip the fruit into a shallow baking dish, then cover with the sludgy sugar.

Roast for 20 to 25 mins until the fruits have softened, but not collapsed and the sugar and fruit juices have made a sticky sauce.

Any leftovers will keep in the fridge for up to 2 days.

Milestones

Baklava


My mother’s birthday came as the ideal opportunity to test my cooking on the food perfectionist of the family. My mum is a very good cook: precise and talented at difficult feats in the kitchen. It was therefore time to impress.

For Sunday lunch, I made a three-course meal consisting of Crushed Petit Pois & Ricotta Bruschetta, Cider Glazed Salmon, and Baklava with Vanilla Ice-Cream for dessert. It was a leisurely lunch eaten outside, a relaxing birthday celebration.

I had never made baklava before but its stickiness and sweetness has always appealed to me. I settled for a Claudia Roden recipe from my Mum’s cookbook collection. I halved the ingredients as 30 pieces of baklava would have been an indulgence too far!


Baklava

Adapted from Tamarind and Saffron: Favourite Recipes from the Middle East by Claudia Roden

Makes about 15 pieces

250g filo pastry (about 12 fine sheets)
90g unsalted butter, melted
250g pistachio nuts or walnuts, medium to finely ground

For the syrup:

250g sugar
150ml water
½ tbsp lemon juice
1  tbsp orange-blossom water


Method

Prepare the syrup first. Put the sugar, water and lemon juice in a pan and simmer for 5-10 minutes until the syrup thickens just enough to coat a spoon. Stir in the orange-blossom water and simmer for a few seconds more. Allow to cool, then chill in the refrigerator.

Brush a large square baking tin, a little smaller than the sheets of filo, with melted butter. Lay half the sheets one at a time, one on top of the other, in the tin, brushing each with melted butter, pressing it into the corners and letting the edges come up the sides of the tray or overhang.

Spread the nuts evenly over the sheets. Then cover with the remaining sheets, brushing each, including the top one, with melted butter. With a sharp-pointed knife, cut parallel lines 4-5cm apart, then cut other parallel lines diagonally so as to have diamond-shaped pastries. Cut right through to the bottom.

Bake the baklava in a preheated oven at 180C for 30-35 minutes hour, or until it is puffed up and golden. Remove from the oven and pour the cold syrup all over the top of the hot pastry, especially along the slashed lines.

When cold and ready to serve, cut the pieces of pastry out again and lift them out one by one on to a serving dish, or turn the whole pastry out (by turning it upside down on to a large sheet and then turning it over again on the serving dish) and cut out again along the original lines.

As the pastry at the base of the baklava was saturated with syrup, it was quite flat. To serve, I therefore put together two pieces base to base creating a (large) sweet, sticky and nutty dessert!